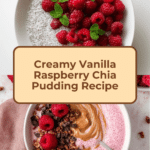
Smooth Vanilla Raspberry Chia Pudding Recipe
Introduction
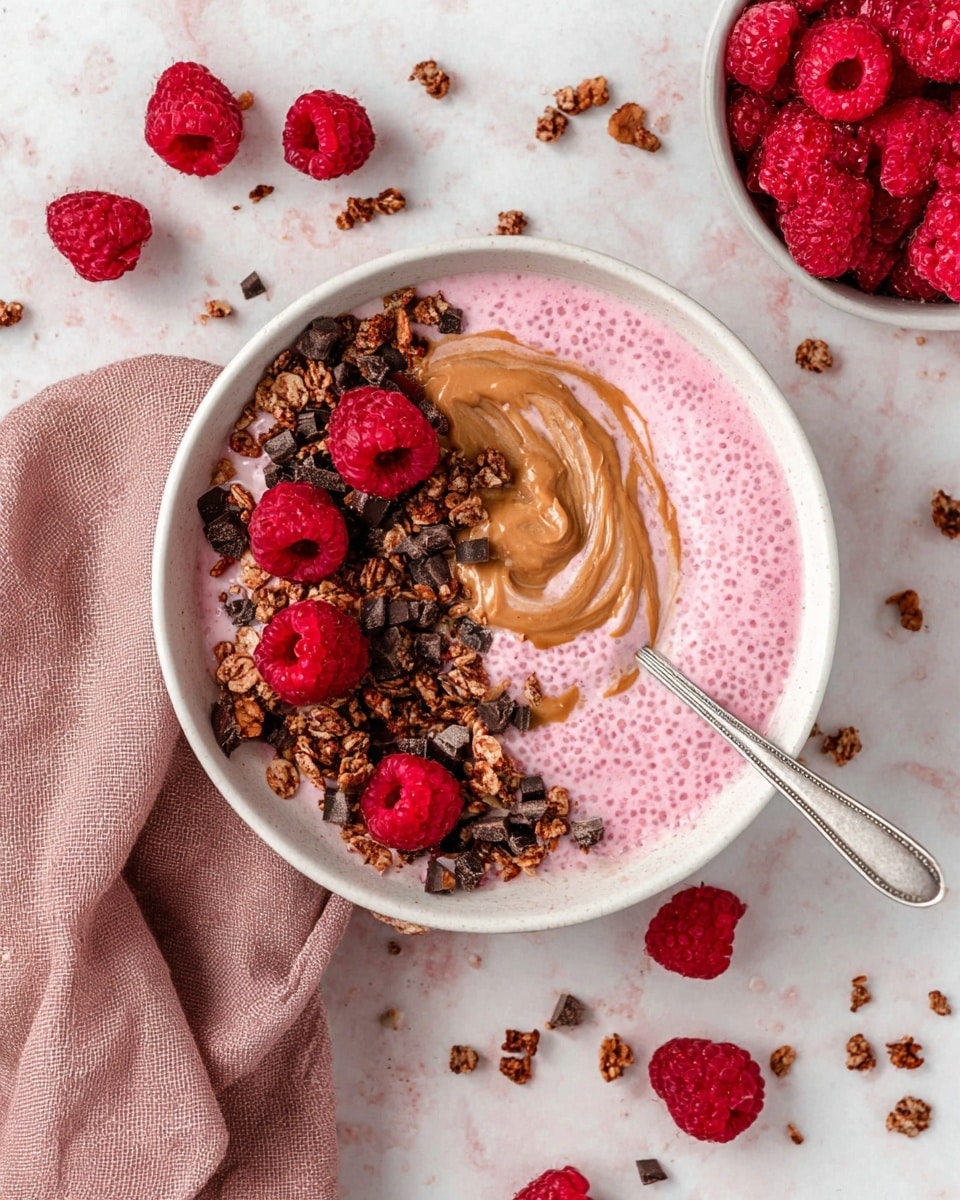
This Smooth Vanilla Raspberry Chia Pudding is a delightful and nutritious treat perfect for breakfast or a healthy snack. Creamy, naturally sweetened, and bursting with fresh raspberries, it’s simple to prepare and wonderfully satisfying.

Ingredients
- 1/4 cup chia seeds
- 1 cup almond milk (or any plant-based milk)
- 1 teaspoon vanilla extract
- 1 tablespoon maple syrup (or honey)
- 1/2 cup fresh raspberries
- 2 tablespoons vanilla yogurt (optional)
- Pinch of salt
Instructions
- Step 1: In a medium-sized bowl, combine chia seeds, almond milk, vanilla extract, maple syrup, and a pinch of salt. Stir well to ensure the chia seeds are evenly distributed.
- Step 2: Cover the bowl and refrigerate for at least 4 hours, or overnight, to let the chia seeds absorb the liquid and thicken into a pudding-like consistency.
- Step 3: Before serving, wash the fresh raspberries thoroughly. Optionally, mash some of the raspberries to blend their flavor into the pudding more intensely.
- Step 4: Stir the chia pudding well, then layer it in a glass or bowl with fresh raspberries and vanilla yogurt if using.
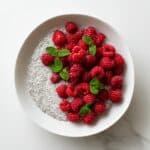
- Step 5: Top with additional raspberries and enjoy your smooth vanilla raspberry chia pudding!
Tips & Variations
- For added creaminess, stir in a spoonful of coconut cream before refrigerating.
- Substitute maple syrup with agave nectar or a few drops of stevia for a different sweetness.
- Use frozen raspberries if fresh ones are not available, but allow a few extra minutes to thaw and blend flavors.
- Add a sprinkle of toasted almonds or granola on top for a crunchy texture.
Storage
Store the chia pudding in an airtight container in the refrigerator for up to 3 days. Keep fresh raspberries separate until ready to serve to prevent sogginess. Reheat is not necessary as this dish is best enjoyed chilled.
How to Serve
Serve this delicious recipe with your favorite sides.
FAQs
Can I use regular milk instead of almond milk?
Yes, you can use any milk you prefer, including dairy milk. The pudding will still set well and taste delicious.
How do I know when the chia pudding is ready?
The pudding is ready when it has thickened to a creamy, gel-like consistency and the chia seeds have absorbed the liquid, usually after at least 4 hours in the refrigerator.
PrintSmooth Vanilla Raspberry Chia Pudding Recipe
This Smooth Vanilla Raspberry Chia Pudding is a delicious and healthy plant-based dessert or breakfast option. Featuring creamy almond milk, sweetened with maple syrup and infused with vanilla extract, this pudding is packed with the nutritional benefits of chia seeds. Layered with fresh raspberries and optional vanilla yogurt, it offers a refreshing balance of creamy, fruity, and subtly sweet flavors. Perfect for a make-ahead treat that requires no cooking, it’s ideal for those seeking a nutritious, gluten-free, and vegetarian-friendly snack.
- Prep Time: 10 minutes
- Cook Time: 0 minutes
- Total Time: 4 hours 10 minutes
- Yield: 2 servings 1x
- Category: Dessert
- Method: No-Cook
- Cuisine: American
- Diet: Gluten Free, Vegetarian
Ingredients
Chia Pudding Base
- 1/4 cup chia seeds
- 1 cup almond milk (or any plant-based milk)
- 1 teaspoon vanilla extract
- 1 tablespoon maple syrup (or honey)
- Pinch of salt
Toppings
- 1/2 cup fresh raspberries
- 2 tablespoons vanilla yogurt (optional)
Instructions
- Combine Ingredients: In a medium-sized bowl, mix together the chia seeds, almond milk, vanilla extract, maple syrup, and a pinch of salt. Stir well to ensure the chia seeds are evenly distributed.
- Refrigerate: Cover the bowl and refrigerate for at least 4 hours, or overnight. This allows the chia seeds to absorb the liquid and form a pudding-like consistency.
- Prepare Raspberries: Before serving, wash the raspberries thoroughly. Optionally, mash some of them to intensify the raspberry flavor throughout the pudding.
- Assemble: Once the chia pudding has thickened, stir it gently. Layer the pudding with fresh raspberries and vanilla yogurt in a serving glass or bowl.
- Serve: Top with additional fresh raspberries and enjoy your smooth vanilla raspberry chia pudding.
Notes
- Use maple syrup for a vegan option, or substitute honey if not strictly vegan.
- The pudding can be stored in the refrigerator covered for up to 3 days.
- Feel free to substitute almond milk with other plant-based milks like oat, soy, or coconut milk.
- Vanilla yogurt is optional and can be replaced with dairy or plant-based yogurt according to preference.
- For a thicker pudding, increase chia seeds to 3 tablespoons.
Keywords: chia pudding, vanilla chia pudding, raspberry chia pudding, healthy dessert, vegan dessert, gluten free dessert, no-cook pudding, breakfast pudding, plant-based dessert