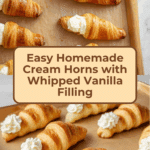
Homemade Cream Horns Recipe
Introduction
Homemade cream horns are a delightful pastry treat featuring flaky puff pastry filled with sweet, fluffy whipped cream. They make an elegant dessert or a special snack that’s surprisingly simple to prepare at home.
Ingredients
- 1 sheet frozen puff pastry (thawed)
- 1 egg (room temperature)
- 1 cup confectioners’ sugar (powdered sugar), divided
- 1 cup heavy cream
- 1 teaspoon pure vanilla extract
Instructions
- Step 1: Thaw the puff pastry until you can unfold it without breaking. Cut the pastry sheet crosswise into nine equal strips and set aside.
- Step 2: Spray nine metal pastry cones with non-stick spray. If you don’t have pastry cones, make your own by folding 8-12″ sheets of aluminum foil in half and rolling each into a cone shape.
- Step 3: Wrap each pastry strip around a cone, starting at the pointed end, overlapping slightly to prevent gaps. Press the end gently to secure it to the top layer. Freeze the wrapped cones for 20-30 minutes to help them keep their shape while baking.
- Step 4: Preheat the oven to 400°F. Line two baking sheets with silicone mats or parchment paper.
- Step 5: Place the pastries seam side down on the baking sheets, spaced 2-3 inches apart to allow for expansion. Arrange four on one sheet and five on the other, placing them diagonally.
- Step 6: Prepare an egg wash by whisking the egg with one teaspoon of water. Brush the tops of the pastries evenly with the egg wash for a golden finish.
- Step 7: Dust each pastry lightly with 1/4 cup powdered sugar using a flour sifter or fine mesh sieve.
- Step 8: Bake for about 15 minutes, or until the pastries are golden brown. Let them cool on the baking sheets with the cones still inside. The cones may push out slightly as the pastry expands.
- Step 9: While the pastries cool, whip the heavy cream in a large bowl until soft peaks form. Add the vanilla extract and the remaining 3/4 cup powdered sugar, then continue to whip until stiff peaks form. Adjust sweetness to taste if needed.
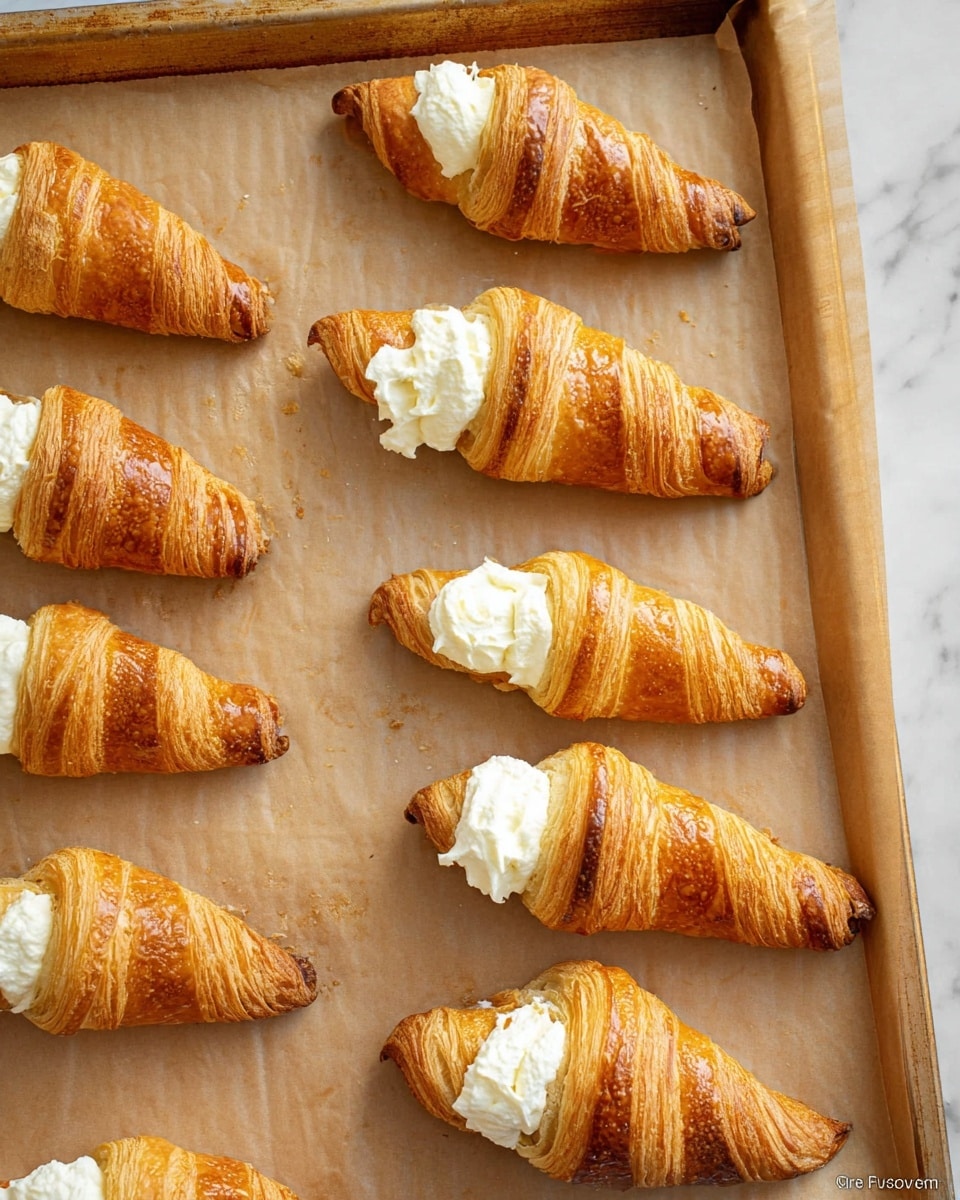
- Step 10: Once cooled, fill a piping bag with the cream mixture and pipe it firmly into each pastry horn. Optionally, dust with additional powdered sugar or drizzle with chocolate. Keep refrigerated until ready to serve.
Tips & Variations
- For extra flavor, add a teaspoon of almond extract to the whipped cream instead of vanilla.
- If you don’t have metal cones or foil, try shaping the pastry strips around thick, oven-safe dowels wrapped in parchment paper.
- For a fruit twist, mix in some finely chopped fresh berries or zest into the cream filling.
- Use chilled heavy cream for easier whipping and better volume.
Storage
Store filled cream horns in an airtight container in the refrigerator for up to 2 days to maintain freshness. For best texture, fill the shells just before serving; unfilled baked shells can be stored in an airtight container at room temperature for up to 2 days. Reheat unfilled shells briefly in a warm oven to restore flakiness if desired.
How to Serve

Serve this delicious recipe with your favorite sides.
FAQs
Can I use homemade puff pastry for this recipe?
Yes, homemade puff pastry works wonderfully if you have the time to prepare it. Just make sure it’s well chilled before cutting and shaping to get the best puff and flakiness.
What can I use if I don’t have piping bags?
If you don’t have a piping bag, you can fill a plastic sandwich bag with the cream, snip off a small corner, and pipe the filling into the horns that way.
PrintHomemade Cream Horns Recipe

Homemade Cream Horns are delicate, flaky puff pastry shells filled with a luscious, lightly sweetened whipped cream. This classic dessert combines the crispness of golden-baked pastry with a smooth vanilla-infused cream filling, perfect for special occasions or an elegant treat.
- Prep Time: 20 minutes
- Cook Time: 15 minutes
- Total Time: 35 minutes
- Yield: 9 cream horns 1x
- Category: Dessert
- Method: Baking
- Cuisine: American
Ingredients
Pastry
- 1 sheet frozen puff pastry (thawed)
- 1 egg (room temperature)
- 1 teaspoon water
- 1 cup confectioners’ sugar (powdered sugar), divided
- Non-stick spray (for metal pastry cones)
- Aluminum foil (for making pastry cones, if needed)
Cream Filling
- 1 cup heavy cream
- 1 teaspoon pure vanilla extract
- 3/4 cup confectioners’ sugar (powdered sugar), divided from above
Instructions
- Thaw and Cut Pastry: Take the puff pastry sheet out to thaw until you can unfold it without breaking. Once thawed, cut the pastry crosswise into nine equal strips and set them aside.
- Prepare Pastry Cones: Spray 9 metal pastry cones with non-stick spray. If you don’t have pastry cones, make your own by folding 8-12″ long aluminum foil sheets and rolling them into cone shapes.
- Wrap Pastry Strips: Wind each strip of pastry around a cone, starting from the pointed end, overlapping slightly to avoid gaps. Press the end gently to secure.
- Freeze Shaped Pastries: Place the wrapped cones in the freezer for 20-30 minutes so they hold their shape during baking.
- Preheat Oven and Prepare Baking Sheets: Preheat the oven to 400°F (204°C). Line two baking sheets with silicone mats or parchment paper.
- Arrange Pastries on Sheets: Remove cones from freezer and arrange pastries seam side down on the baking sheets, spacing them 2-3″ apart to allow expansion.
- Apply Egg Wash and Sugar Dusting: Whisk the egg with water to make an egg wash. Brush the tops of each pastry with the egg wash, then sift 1/4 cup powdered sugar on top for a sweet dusting.
- Bake Pastries: Bake in the preheated oven for 15 minutes or until golden brown. Let them cool on the baking sheets with metal forms still inside; the forms may push out slightly due to expansion.
- Prepare Cream Filling: While pastries cool, whip heavy cream in a large bowl until soft peaks form. Add vanilla extract and remaining 3/4 cup powdered sugar, then whip until stiff peaks form. Adjust sweetness if desired.
- Fill Pastries: Once pastries are completely cooled, fill a piping bag with the whipped cream and pipe it firmly into the hollow centers of the pastry shells.
- Serve and Store: Optionally dust with additional powdered sugar or drizzle with chocolate. Keep refrigerated and enjoy within a day or two for freshness.
Notes
- Thaw the puff pastry properly to avoid tearing when unfolding.
- If you don’t have pastry cones, aluminum foil cones work well as a substitute.
- Ensure pastries are spaced well on baking sheets to prevent sticking.
- Egg wash helps achieve a golden, glossy exterior.
- Chill pastries with cones inside to maintain their shape while cooling.
- Whip cream just until stiff peaks to avoid overbeating and turning it into butter.
- Store filled cream horns in the refrigerator and consume within 2 days for best freshness.
Keywords: cream horns, puff pastry dessert, whipped cream filling, homemade pastry, elegant dessert