No-Bake Pink Velvet Cheesecake Bites Recipe
Introduction
No-bake pink velvet cheesecake bites are a delightful, creamy treat with a hint of sweetness and a charming rosy hue. These little cheesecake squares are perfect for parties or a simple sweet craving without the heat of the oven.

Ingredients
- 1 cup graham cracker crumbs
- 2 tablespoons granulated sugar
- 4 tablespoons unsalted butter, melted
- 8 ounces cream cheese, softened
- 1/2 cup powdered sugar
- 1 cup heavy cream
- 1 teaspoon vanilla extract
- 1 teaspoon pink food coloring
- 1 cup whipped cream
- Sprinkles (optional)
Instructions
- Step 1: In a medium bowl, combine graham cracker crumbs, granulated sugar, and melted butter. Mix until the texture resembles wet sand.
- Step 2: Press the crumb mixture firmly into the bottom of a 9-inch square baking dish to form the crust.
- Step 3: In a large mixing bowl, beat the softened cream cheese until smooth and creamy.
- Step 4: Add powdered sugar, heavy cream, vanilla extract, and pink food coloring to the cream cheese. Beat until the mixture is light and fluffy.
- Step 5: Spread the cheesecake filling evenly over the crust in the baking dish.
- Step 6: Refrigerate the cheesecake bites for at least 4 hours or until set completely.
- Step 7: Just before serving, top the cheesecake bites with whipped cream and sprinkle with optional sprinkles for a festive touch.
Tips & Variations
- Use crushed cookies like vanilla wafers or shortbread instead of graham crackers for a different crust flavor.
- For a dairy-free version, substitute cream cheese and heavy cream with coconut cream and a plant-based cream cheese.
- Adjust the amount of pink food coloring to achieve your desired shade of pink.
Storage
Store the cheesecake bites in an airtight container in the refrigerator for up to 3 days. They can be served chilled directly from the fridge. Avoid freezing as texture may change upon thawing.
How to Serve
Serve this delicious recipe with your favorite sides.
FAQs
Can I use other colors of food coloring?
Yes, you can use any food coloring you prefer to customize the cheesecake bites. Just adjust the amount to achieve your desired shade.
Do I have to use whipped cream on top?
Whipped cream adds a lovely finish but is optional. You can also garnish with fresh berries or a dusting of powdered sugar if you prefer.
PrintNo-Bake Pink Velvet Cheesecake Bites Recipe

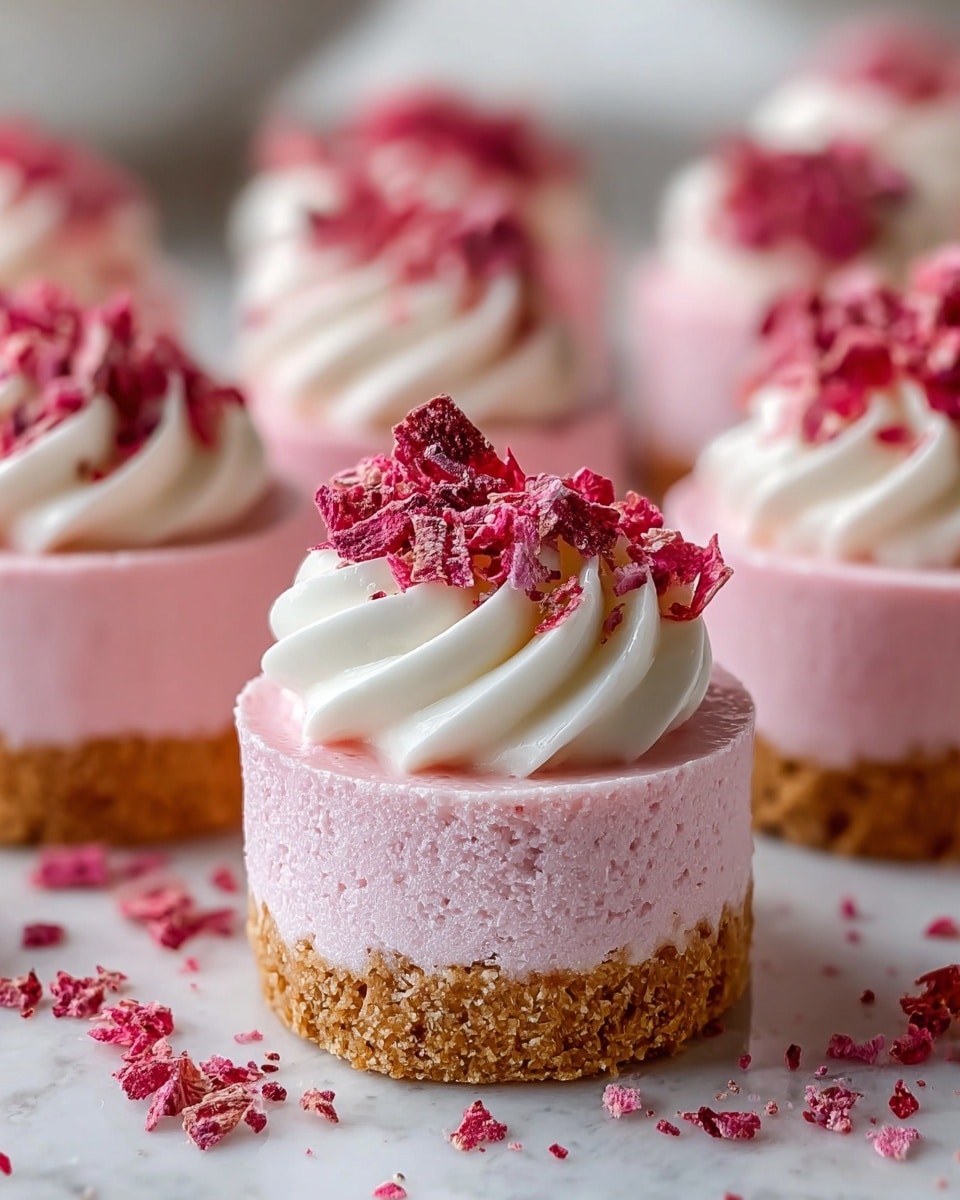
These No-Bake Pink Velvet Cheesecake Bites offer a delightful combination of a crunchy graham cracker crust topped with a creamy, fluffy pink cheesecake filling. Easy to prepare without any baking required, they are perfect for festive occasions or a sweet treat anytime.
- Prep Time: 15 minutes
- Cook Time: 0 minutes
- Total Time: 4 hours 15 minutes
- Yield: 9 to 12 bites 1x
- Category: Dessert
- Method: No-Cook
- Cuisine: American
- Diet: Vegetarian
Ingredients
Crust
- 1 cup graham cracker crumbs
- 2 tablespoons granulated sugar
- 4 tablespoons unsalted butter, melted
Filling
- 8 ounces cream cheese, softened
- 1/2 cup powdered sugar
- 1 cup heavy cream
- 1 teaspoon vanilla extract
- 1 teaspoon pink food coloring
Topping
- 1 cup whipped cream
- Sprinkles (optional)
Instructions
- Prepare the crust: In a medium bowl, combine the graham cracker crumbs, granulated sugar, and melted butter. Mix thoroughly until the mixture resembles wet sand.
- Press crust into dish: Firmly press the crumb mixture into the bottom of a 9-inch square baking dish, creating an even and compact layer.
- Beat cream cheese: In a large mixing bowl, beat the softened cream cheese until smooth and creamy using an electric mixer for best results.
- Make the filling: Add the powdered sugar, heavy cream, vanilla extract, and pink food coloring to the cream cheese. Beat the mixture until light, fluffy, and well combined with a uniform pink color.
- Assemble cheesecake bites: Spread the creamy cheesecake filling evenly over the prepared crust, smoothing the surface with a spatula.
- Chill to set: Place the dish in the refrigerator for at least 4 hours or until the cheesecake filling is firm and set.
- Add toppings: Just before serving, top the cheesecake bites with whipped cream and optionally sprinkle colorful sprinkles for a festive touch.
Notes
- Ensure the cream cheese is softened to room temperature for smoother mixing and better texture.
- Press the crust firmly to prevent it from crumbling when serving.
- Chilling time can be extended overnight for best results and easier slicing.
- Pink food coloring can be adjusted depending on your desired shade.
- These cheesecake bites are best served chilled and consumed within 2-3 days.
Keywords: No-Bake Cheesecake, Pink Velvet Cheesecake, Cheesecake Bites, Easy No-Bake Dessert, Cream Cheese Dessert